I made this sunglasses case because I had two pieces of stingray leather I got on clearance from Tandy Leather on a whim and didn’t know what to do with. They were juuuuuuust big enough for this to be a practical choice, and I hated having a big chunky sunglasses case that I couldn’t really carry around with me.
I looked around at some designs, and couldn’t find a free pattern I liked, so I mocked one up in paper, then transferred that to scrap leather. I took the design and used Inkscape for the first time to make a first draft.
After testing the pattern by making a second prototype out of leather, I felt it needed adjusting, and so I made the curved part that holds the glasses in a centimeter taller to make it more secure.
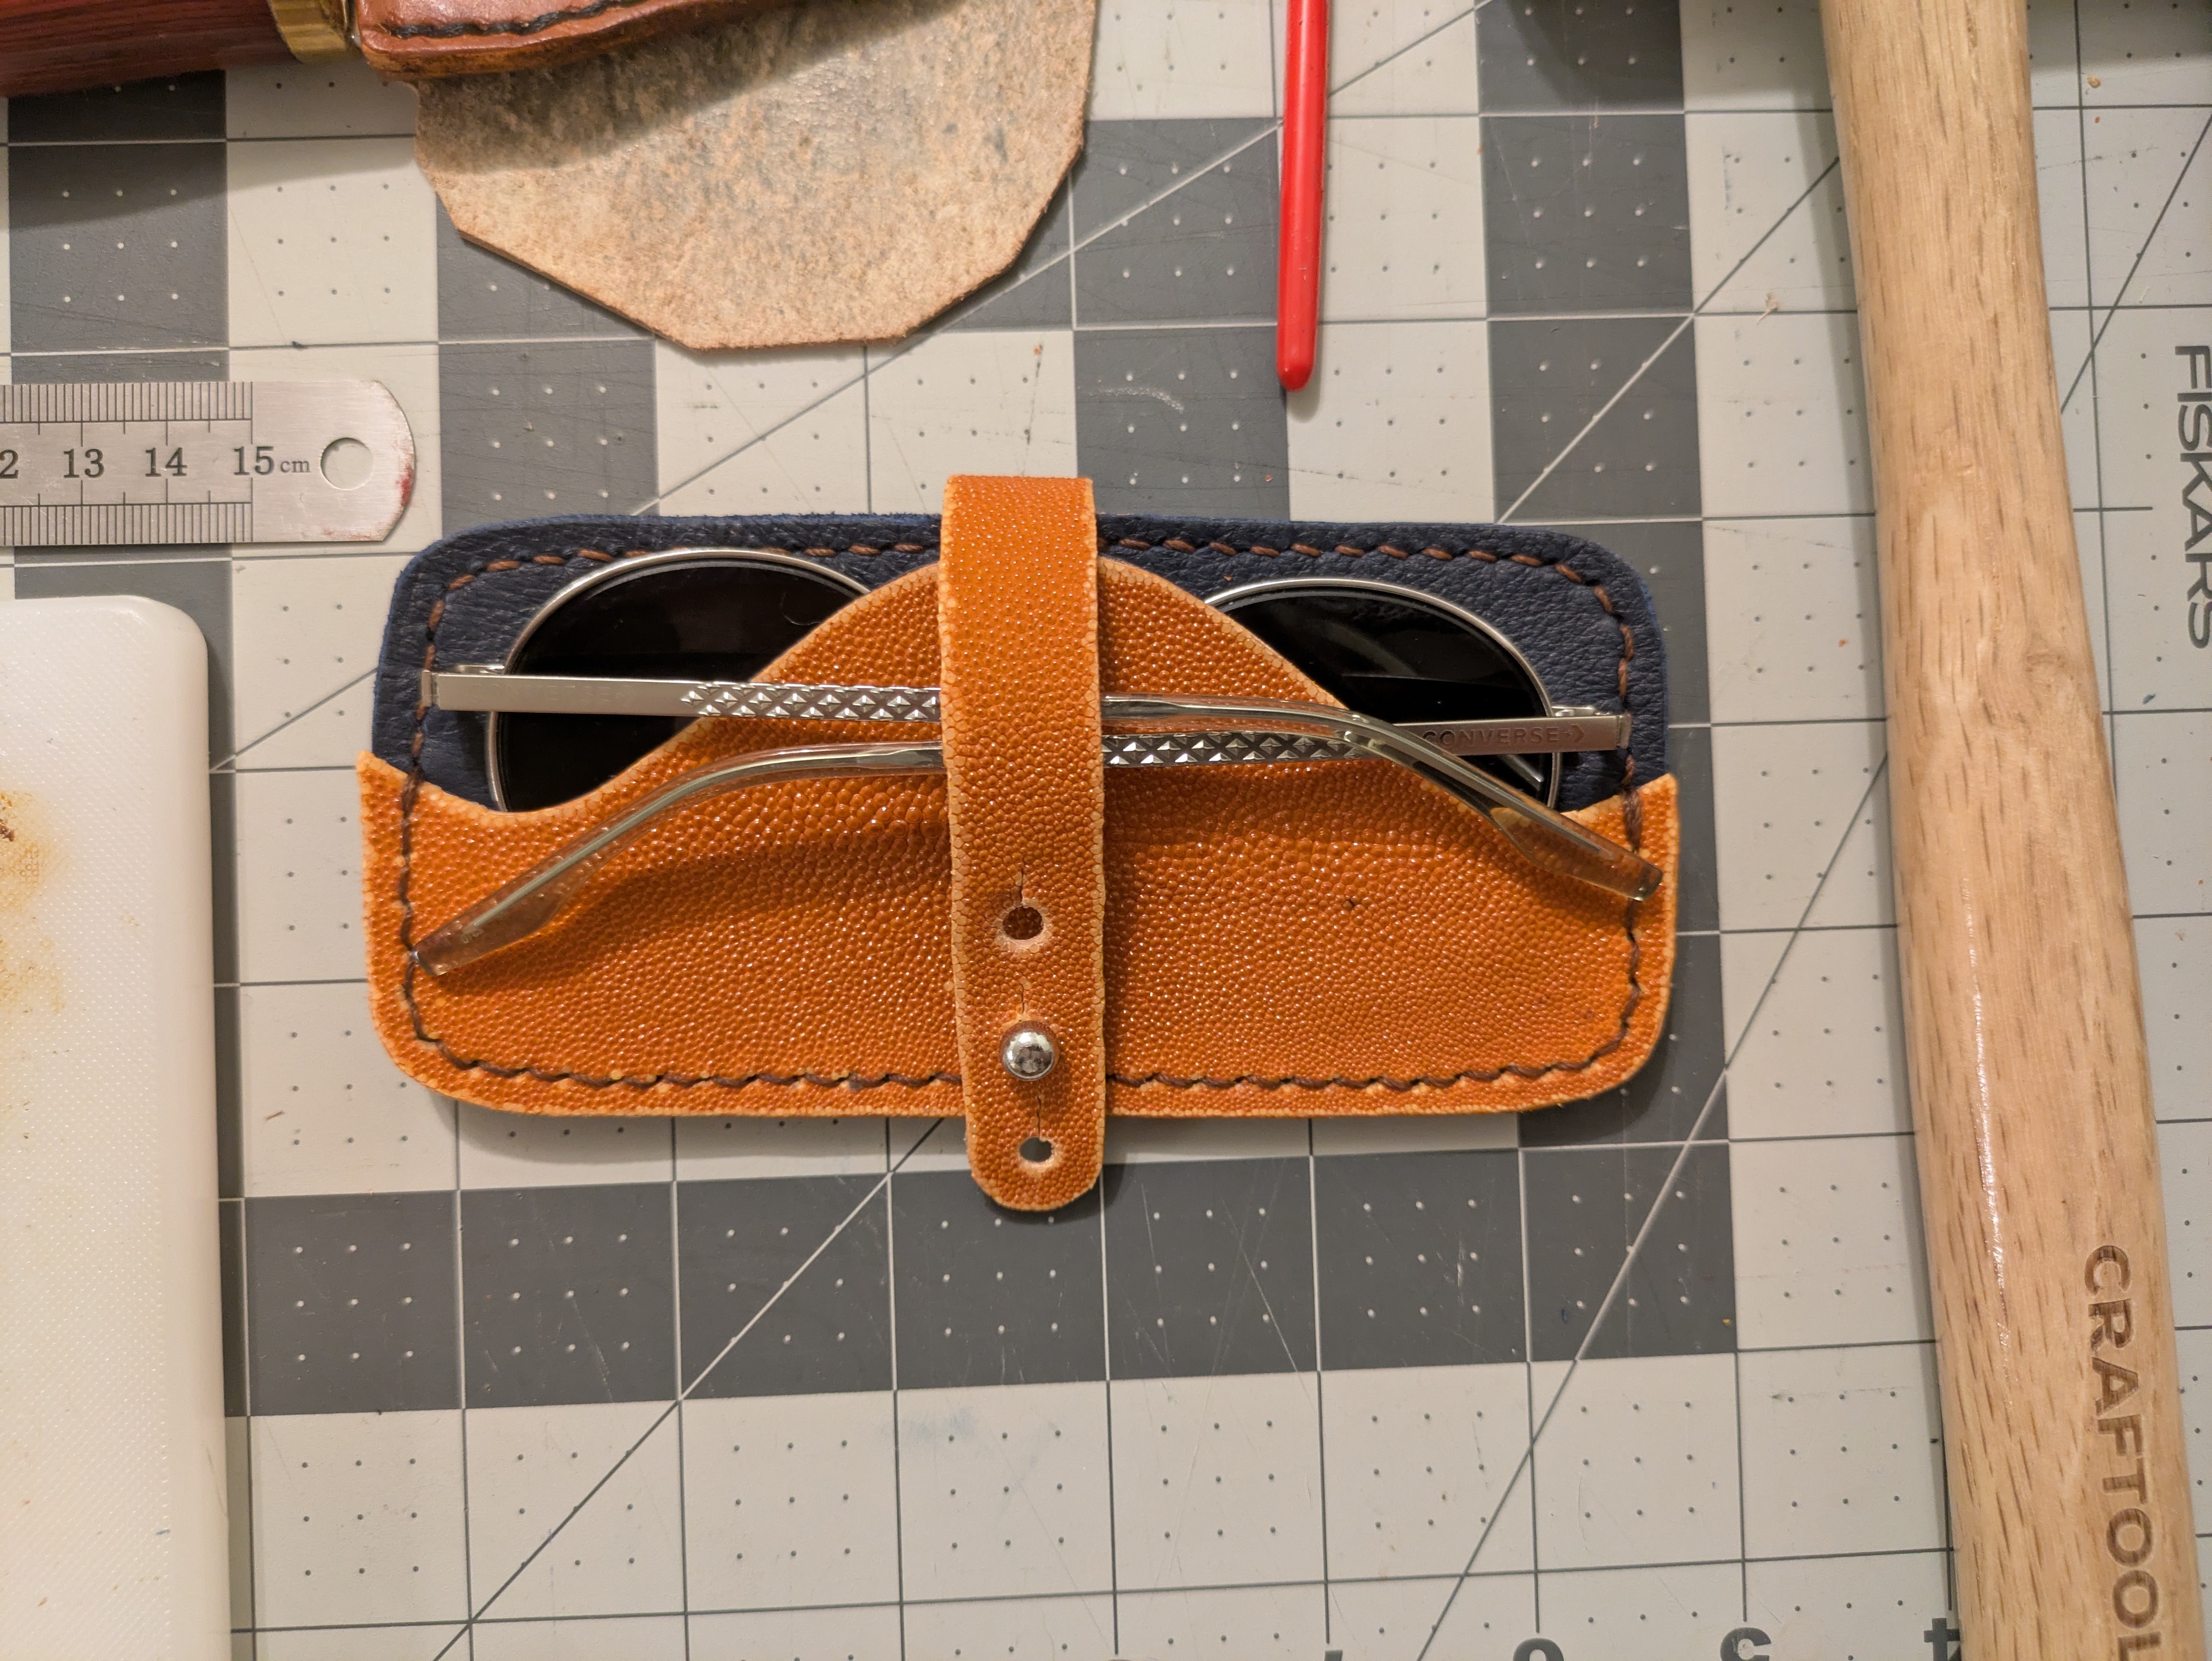
I chose to use a soft leather for the interior to help protect the lenses, some veg tan in the middle so it was more sturdy, and then used the stingray leather as facing.
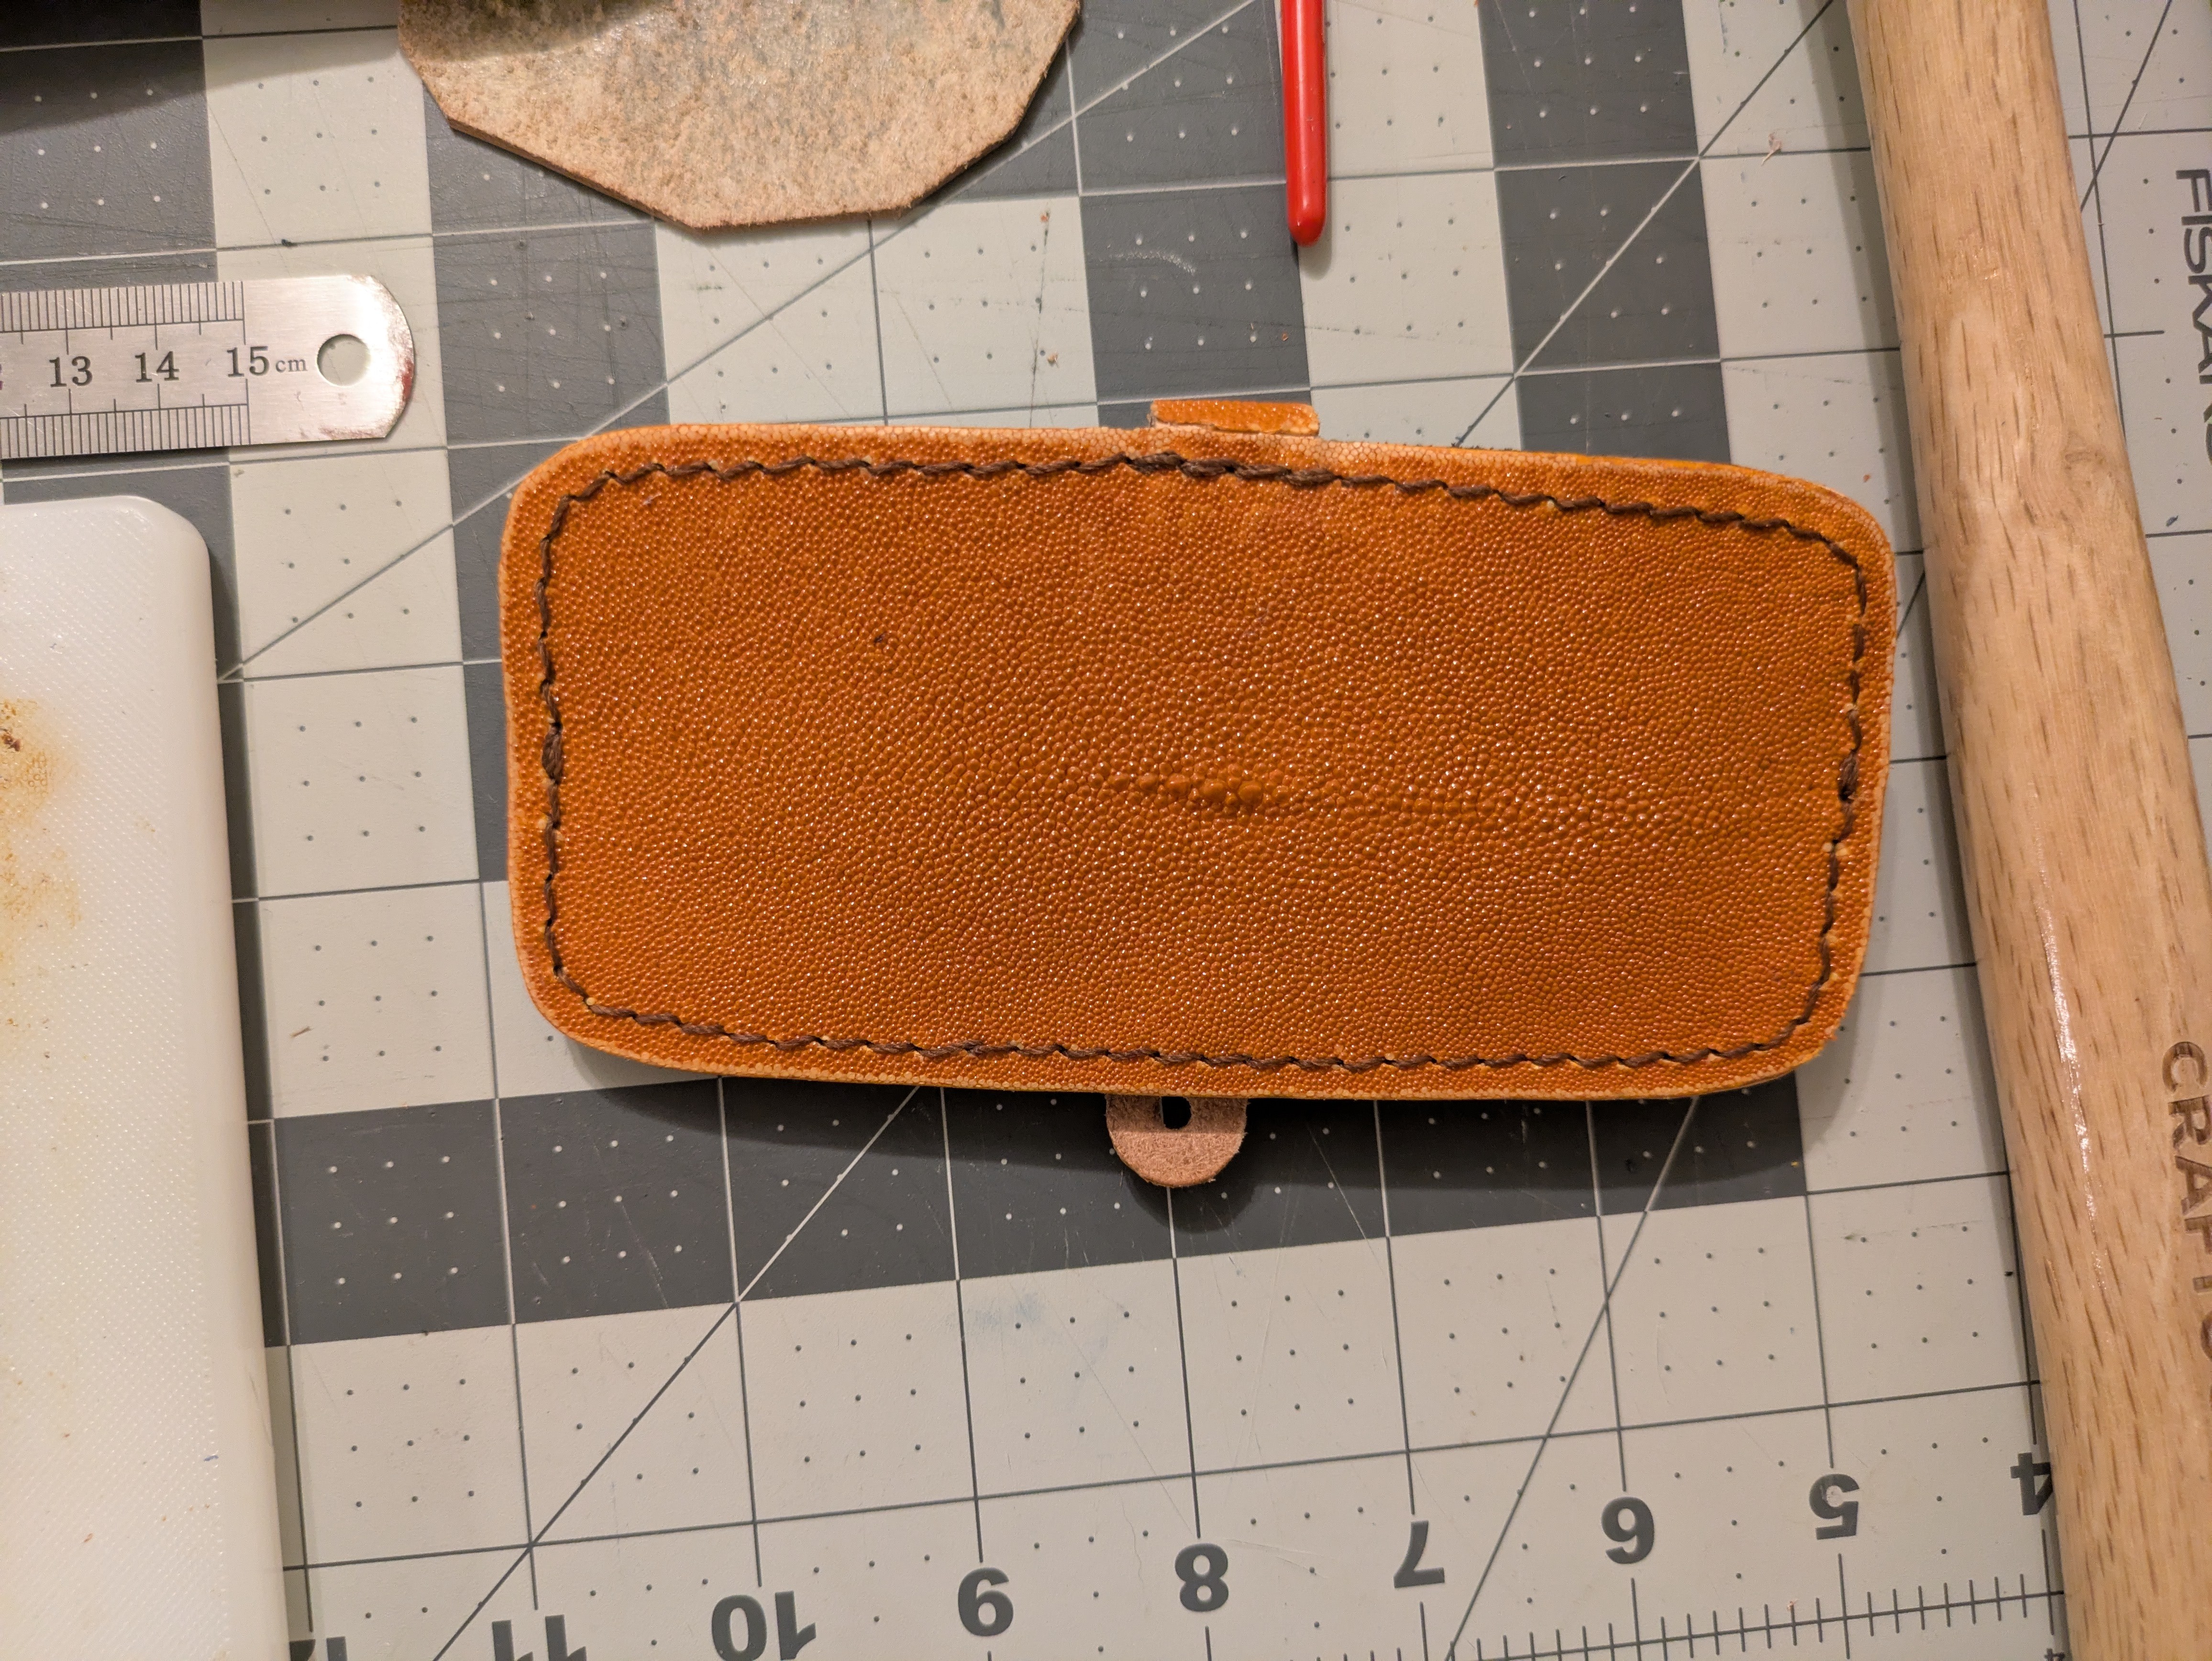
Final product
Materials
- I recommend some
2-3ozveg tan leather if you’re going to face it with a different kind of leather, but3-4ozif you’re just going to go with a regular veg tan exterior. - I recommend
3-4ozsoft leather for the inner layer to help protect the glasses. - I also designed this to use a screw-backed button stud for the strap. I just like ‘em, but whatever you want to use to attach works.
Instructions
- Print the pattern - you can find it here!
- Cut out the pattern and use it to cut out the leather pieces you need. Don’t bother sanding, beveling, and burnishing yet.
NOTE
- You’ll need at least two pieces for each part of the main body (veg and soft, plus a facing layer if you want something on the outside)
- You only need one piece of veg tan leather for the strap, plus another if you want to face it with something.
- If you’re going to face the strap, you can make the facing layer shorter by
1.5cm, which is the same as the amount I recommend skiving down the attachment end of the strap.If you want the edges dyed, consider doing it here and making sure the dye gets in kind of deep, since we'll be sanding and edge beveling after joining everything. If you're going for a uniform color it won't be an issue.
- Assemble front piece.
Note
- Skive the strap down the last
1.5cmfrom the dotted line to the flat end, and glue it in between the soft and veg tan layers of the front.- We’ll sew over this attachment later to strengthen it more.
- Assemble the back piece.
NOTE
- Assembling the back is straightforward enough. If you can’t get the pointed corners to lay perfectly flat or they feel insecure, don’t worry too much - you can sew them down later.
- I don’t have any tips if you don’t want this stitched.
- Sand, bevel, and then burnish the edges.
NOTE
- I leave this to the last to make sure the edges are all even.
- Punch and stitch all around the edges. This will secure the strap if you go all the way around like I did.
- Punch holes for the strap. I did
5mmholes with an additional5mmslit to get it to fit over the button stud, but use whatever closure you see fit, and adjust your spacing as needed.
Notes
- Stingray leather was neat to work with, and surprising to sand! The scutes kind of messed up the initial cutting of the pieces, but I was able to sand them down really nicely to avoid an uneven look. It gives a really cool texture.
- My wife suggested the blue soft leather for the inside, and I think it was a wonderful choice.
- I’ve had this for a few weeks now, and it’s functioned exactly the way I wanted it to.